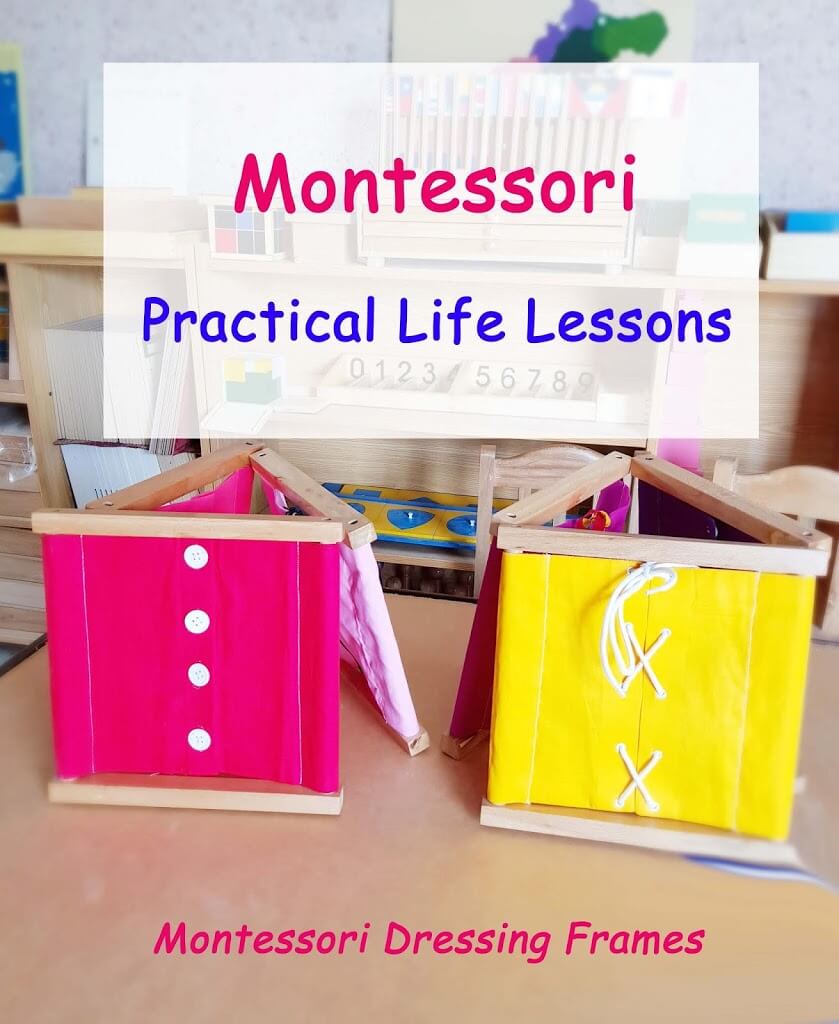
Introduction To Dressing Frames:
Dear parents and community, the dressing frames are a key Montessori Practical Life. Practical Life-Dressing Frames Lessons are a staple in a Montessori classroom. These exercises helps to develop the kid’s eye-hand coordination, concentration and independence. If you are looking for frugal ways to preschool, there are ways to produce the work without purchasing the frames. You can create your own Dressing Frame home. Invite a student to come by telling them you have something to show them. Have the child bring the appropriate dressing frame and have them place it on a specific spot on the table you will be working at. These activities make the kid’s more independent and therefore more confident.
Below you will find a lessons that will help your kid learn about Montessori Practical Life Dressing Frames.
-
- To teach the kids how to buckle and unbuckle.
Indirect aims:
-
- To grow the kid’s eye hand coordination.
- To grow the kid’s fine motor control.
- To grow the kid’s concentration.
- To grow the kid’s independence.
- To satisfy the kid’s need for order.
Contents:
3.Bow Tying Frame Lesson
4.Snapping Frame Lesson
5.Button Frame Lesson
6.Lacing Frame Lesson
Montessori Dressing Frames Lesson:
01-Buckling Frame Lesson
- This buckle frame features two vinyl fabric panels with 4 large buckles. The vinyl panels can be easily removed from the hardwood frame for washing.
- (You can make your own frame at home)
- Buckle frame to help a kid’s learn common clothing fastenings.
Presentation:
- Instructor shows the child how to unbuckle. Starting from the top, she holds the buckle ring with the right hand’s thumb and index finger. Pull the leather strap out of the ring with the left hand’s thumb and index finger.
- When completed the above, ranging from the highest again, take the pin out of the leather strap pinhole. Hold the pin with the proper hand and pull the leather strap with the left out of the pin.
- Start from the highest again, pull the leather strap out of the buckle with the left . Hold the buckle steady with the proper hand.
- When finished, she then shows how to buckle up again, starting from the top. Hold the buckle steady with the right hand, insert by pushing the leather strap into the buckle with the left .
- Starting from the top, pull the strap with the left hand and aiming the pinhole into the pin. Insert the pin into the pinhole with the right hand.
- Starting from the highest again, insert the leather strap into the ring. Hold the ring with the proper hand and insert the leather strap into the ring with the left .
How to Unbuckling
02-Zipping Frame Lesson:
Material:
- The Zipping Frame includes two flaps of cloth with a zip sewn in the middle between the flaps, on a wooden frame.
- Zipping frame to help a kid’s learn common clothing fastenings.
 |
| Zipping Frame Activity |
Presentation:
- Instructor shows the child how to unzip.
- Place the left hand on the left side of the flap.
- Pull the zip head down with the thumb and index of the proper hand right to the top .
- Then Instructor shows the child how to zip up.
- Place the left right at rock bottom of the zip, holding both the flaps down.
- Pull the zip head with the thumb and index of the proper hand all the high .
03-Bow Tying Frame Lesson:
Material:
- This Bow Tying frame features two poly-cotton fabric panels with five pairs of ribbon ties. The ribbons are of two different colors to help visualize the knot.
- Bow Tying frame to help a kid’s learn common clothing fastenings.
- The purpose of this frame is to teach the kid’s how to tie and untie bows.
 |
| Bow Tying Frame Activity |
Presentation:
- Instructor shows the child how to untie the bows.
- Starting from the highest , she tugs the loose ends of the bow to loosen the bows and pulls the sash, laying it out straight at the side on the table.
- Put the whole white sash lying them straight on the proper side of the frame and therefore the entire red sash on the left side of the frame.
- Starting from the highest , release the knots by pulling the white sash with the left and therefore the blue sash with the proper hand.
- Separate them.
- Lay the sashes straight at the sides of the frames.
- When the Instructor has finished untying the bow, she then shows how to tie up the bows again, starting from the top.
- Make a knot for the sashes.
- Place all the red sashes overlapping it to the left and all the blue sashes overlapping it to the right.
04-Snapping Frame Lesson:
Material:
- This Snapping Frame features two poly-cotton fabric panels with five metal snaps. The fabric panels can be easily removed from the hardwood frame for washing.
- Snapping frame to help a kid’s learn common clothing fastenings.
- The purpose of this product is to teach the child how to work with press studs.
 |
| Snapping Frame Activity |
Presentation:
Call a kid to come by telling them you have something to show them. Have the kid bring the appropriate dressing frame and have them place it on a specific spot on the desk you will be working at. Have the kid sit down first, and then teacher sit down to the kid’s right side. Tell the kid that you will be showing him how to use the snaps.
How to Unsnapping
Place left fingers on all sides of button snap, hold right flap with right thumb, index, and middle fingers near snap, and means the small pin which can fit into the bottom snap. Fit pin into rock bottom snap and press with right index . Repeat for remaining snaps.
05-Button Frame Lesson:
Material:
- This Button Frame features two poly-cotton fabric panels with five small plastic buttons. The fabric panels can be easily removed from the hardwood frame for washing.
- The purpose of this product is to teach the child how to button and unbutton.
- Button Frame to help a kid’s learn common clothing fastenings.
 |
| Button Frame Activity |
Presentation:
- Instructor shows the child how to undo the button. Starting from the highest , she holds the edge of the buttonhole with the left hand’s thumb and index finger. Tilt and push the button through the buttonhole half way through. Repeat for all the buttons.
- Starting from the top, push each button out of its buttonhole completely.
- When she has undone the buttons, the Instructor folds back the two flaps so as to clearly demonstrate to the child that the function of the buttons is to hold two pieces of cloth together.
- The Instructor then brings the flaps back together again, starting from the top, shows the child how to do up the buttons.
- Hold the button with the left hand’s thumb and index finger. Hold the buttonhole edge with the proper hand’s thumb and index , opening the buttonhole gap. Tilt and slip the button through the buttonhole from rock bottom till the button emerges to the highest . Repeat for all the rest of the buttons.
- How to Unbuttoning
Hold the left edge of the button with left thumb and index finger and push into buttonhole. With right thumb and index , grasp button; left fingers hold right cloth. Both hands pull, left pulls cloth to the left; right pulls button to right and through buttonhole. Repeat for all remaining buttons.
06-Lacing Frame Lesson:
- This Lacing frame features two poly-cotton fabric panels with seven lacing holes on each and a long polyester shoe lace. The fabric panels can be easily removed from the hardwood frame for washing.
- The purpose of Lacing Frame is to teach the child how to work with the laces.
- The Lacing Frame to help a kid’s learn common clothing fastenings.
 |
| Lacing Frame Activity |
Presentation:
- Instructor shows the kid the way to untie the shoelace.
- Untie the knot.
- Pull lace out from each hole, one by one, ranging from rock bottom .
- Starting from the highest , insert the shoelace into the primary hole on the proper side of the flap, through the primary hole on the other side of the flap.
- Make sure the shoelace is at equal length at each side of the shoe by holding the shoelaces find yourself straight.
- Adjust the position to form sure the ends meet.
- Starting from the proper , insert the shoelace through rock bottom of the second hole on the left side of the frame.
- Then on the left, insert the shoelace through rock bottom of the second hole on the proper side of the frame.
- Continue doing this, alternating between right and left, till the top .
- Tie a bow.
How To Lacing
Thanks For Reading!